
Garlic Chili Crunch
Crunchy Garlic Chili Crisp!
Savory, spicy, crunch and customizable!
Sauces and condiments are my favorite!
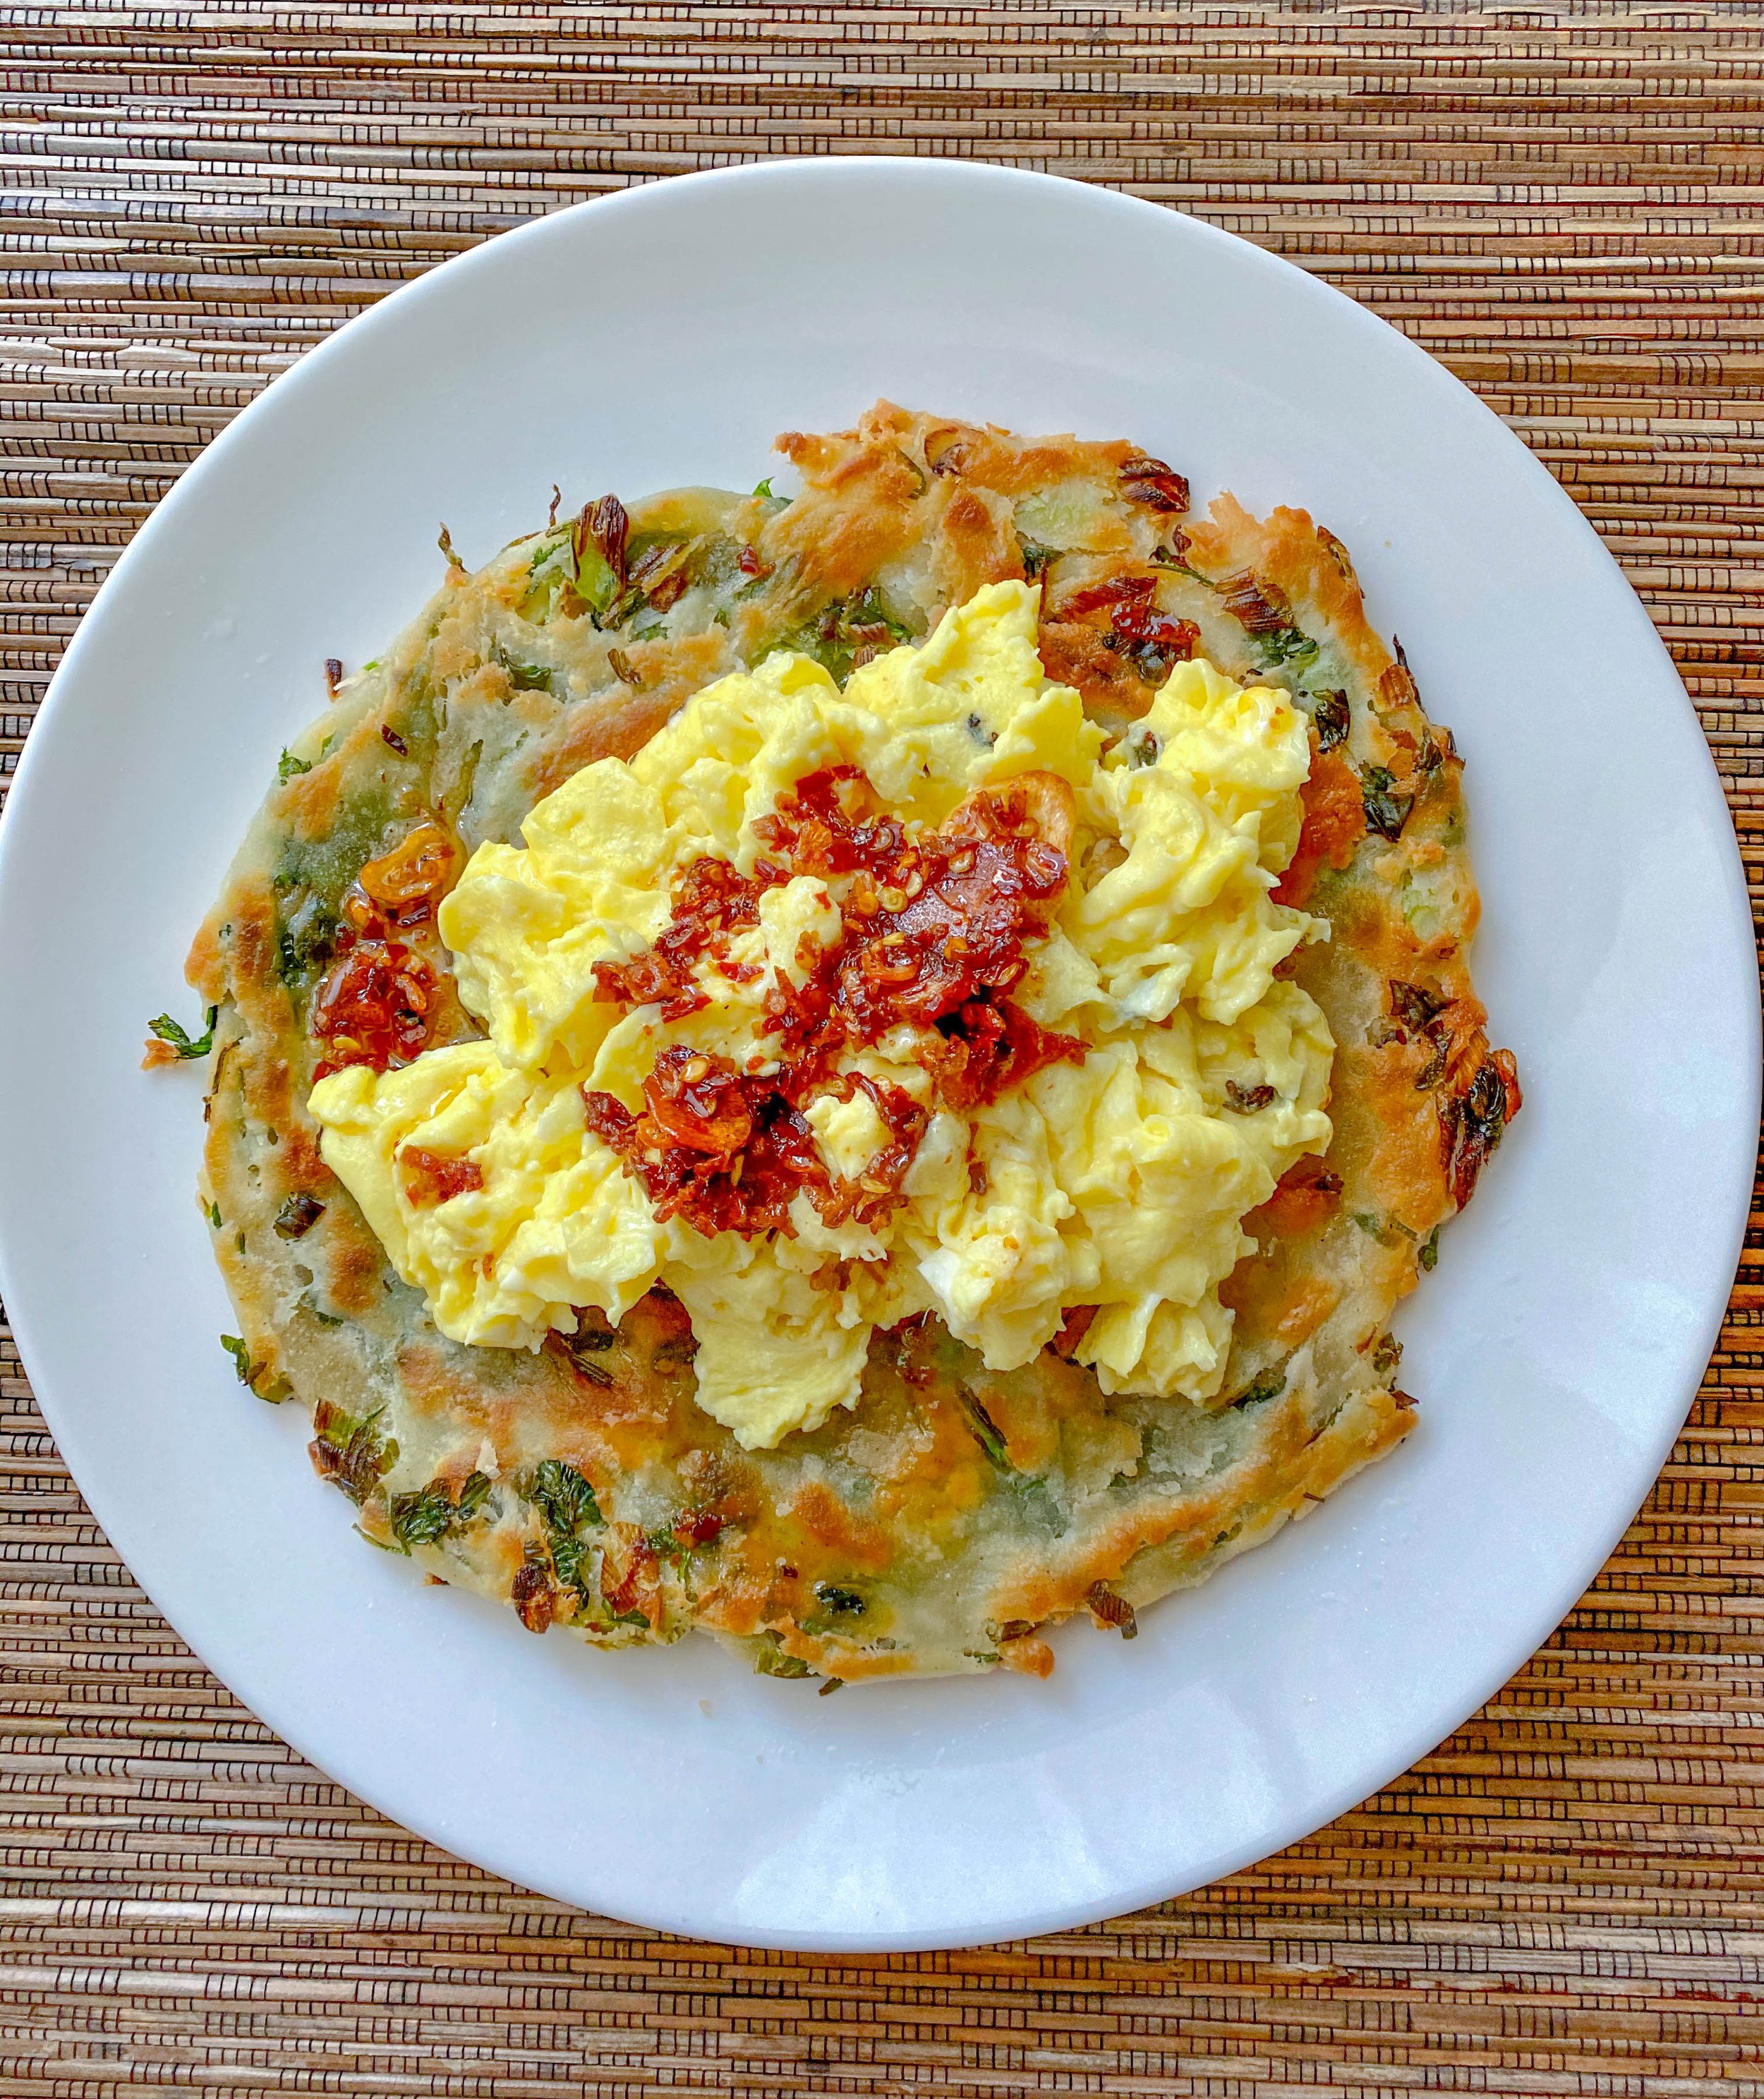
Scallion pancake topped with garlic chili crisp!
This crispy garlic chili oil is one of the best you’ll ever make. It’s rich, savory, spicy, crunchy, and packed with umami. No wonder it’s trending all over social media and popping up on tables everywhere. The good news? You don’t have to buy it—you can (and should!) make your own.
Sure, there are plenty of great store-bought options, and I’ll walk you through some of my faves below. But the real beauty of making your own chili crisp? You get to customize the flavor, adjust the heat, and even gift it to your spice-loving friends. It’s a project worth the slicing and dicing.
What Kind of Chili Crisp Should I Try?
Let’s talk options: Prior to making your own garlic chili crunch and especially if you have never tried it before, I recommend choosing one from my list below (or all three) to get a sense of what it tastes like! Here’s a description of my favorite three which are always on hand in my refrigerator.
This is the classic. A staple in Chinese households for decades, Lao Gan Ma Spicy Chili Crisp is savory, smoky, a little sweet, and deeply addictive. The crunchy bits are legendary. If you’re new to chili crisp, start here.
A modern take with Sichuan peppercorns and a numbing heat that hits differently. It’s a little pricier, but people love the depth of flavor.
Rich with garlic and shallot flavor, plus a satisfying amount of crisp. It’s a solid choice and similar in taste to the recipe below.
Why Make Your Own?
When you make it yourself, you control everything—from spice level to sweetness to how garlicky (or not) you want it. You can also swap in different oils or even add peanuts for texture. Plus, a jar of homemade chili crisp makes for a killer food gift.
What are the main steps for making Garlic Chili Crunch?
Prep Your Aromatics - Thinly slice garlic and shallots (use a mandoline for consistency). Finely chop ginger. Pro Tip: get comfy using a mandoline! This will speed up your cooking, while also helping provide an even cook with consistently sliced pieces of veg.
Infuse the Oil - Add garlic, shallots, cinnamon stick, star anise, and oil to a pot. Keep a close eye here, things will brown quickly!

Mix the Seasoning Base - Combine chili flakes, optional cumin and MSG, soy sauce, brown sugar, and chopped ginger.

Strain and Combine - Strain the hot infused oil into the bowl with the seasonings. Let the crispy garlic and shallots cool in the strainer to ensure they stay crisp.
Mix It All Together - Once everything is cooled, stir the crispy bits back into the seasoned oil.

Store and Enjoy -
Want to turn this into a gift? Pick up a few cute jars, slap on a label, and gift the spiciest jar of love your friends will ever receive.
Transfer to a clean jar or container.
Keep refrigerated and enjoy within a month.
Tips & Add-Ons
Add peanuts for extra crunch and a more traditional Chinese flavor.
Try it on: dumplings, fried eggs, Hainan-style chicken, noodles, bok choy, steamed rice, and everything in between.
Chili Garlic Crunch Recipe
Prep Time: 20 min, Cook Time: 20 min - Total Time: 45 min
Yield: around 2 cups of sauce
Ingredients:
4 small shallots, thinly sliced (recommend using a mandoline)
2 heads of garlic, peeled and thinly sliced (recommend using a mandoline)
The main reason you’ll want to use a mandoline is that you want consistency in the thickness of the garlic and shallot slices so that they fry evenly. Or, this is a great way to practice your knife skills.
1 ½ cups neutral oil (plus 1–2 tbsp more if needed)
1 cinnamon stick
4-5 star anise pods
2 tsp of cumin (optional)
1 tsp of MSG (optional and delicious)
1 thumb sized piece of ginger, finely chopped or minced, ok to leave the skin on
⅛ cup red chili flakes
⅛ cup Chinese-style chili flakes or gochugaru (or use ¼ cup of standard pizza chili flakes if needed)
2 tbsp of soy sauce (recommend Usukuchi brand)
2 tsp of brown sugar
Directions:
Evenly slice shallots and garlic. Mince or finely chop your ginger.
Add garlic, shallots, oil, cinnamon stick, and star anise to a small-to-medium pot. The oil should fully cover the solids—add more if needed.
Bring to a gentle simmer over medium heat. Stir occasionally for about 25 minutes. Watch closely toward the end; once browning starts (around the 20-minute mark), it happens fast.
While it cooks, mix cumin, MSG, ginger, both chili flakes, soy sauce, and brown sugar in a heatproof bowl.
Once the garlic and shallots are golden and crisp, carefully strain the hot oil into the bowl of seasonings. Let the garlic and shallots cool in the strainer (they’ll crisp up as they sit).
Once fully cooled, mix the garlic and shallots back into the chili oil. Done!